3️⃣ Creating a New Instance
How it Works
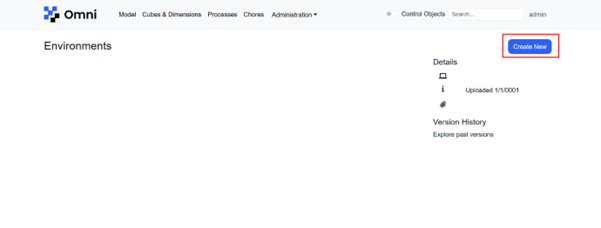
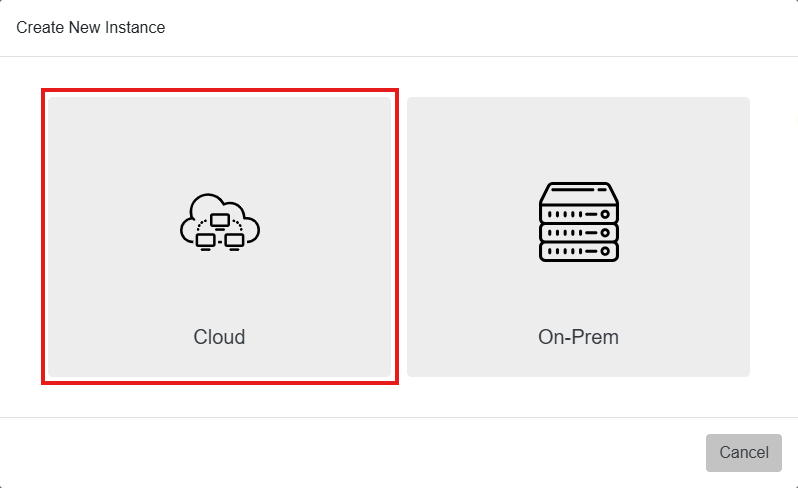
To create a new Instance, start by clicking the ‘Create New’ button .
Creating an on-premise instance
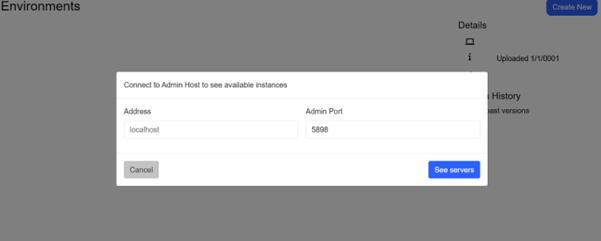
To create an on-premise instance, click on the 'On-Prem' button to bring up the 'Connect to Admin Host' modal.

Key in the address and port your TM1 Admin Host is hosted on. Click on ‘See servers’ to bring up a list of TM1 instances available.
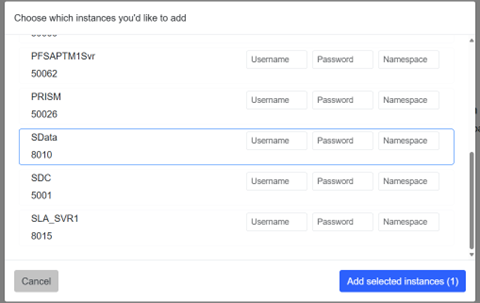
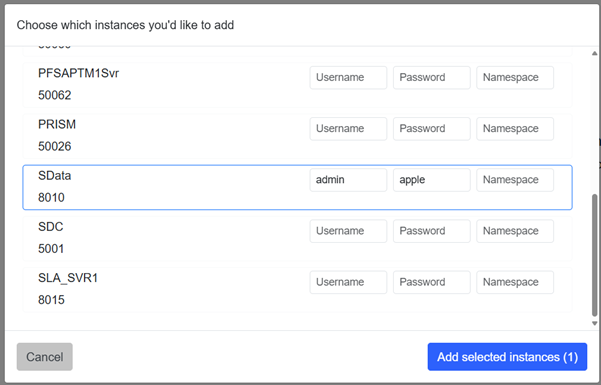
Select the server(s) you’d like to add.
Adding a Security Mode 1 Instance
If you are adding a Mode 1 Instance, you only need to key in your instance username and password.
Adding a Security Mode 5 Instance
If you are adding a Mode 5 Instance, you need to key in the instance username, password and namespace.
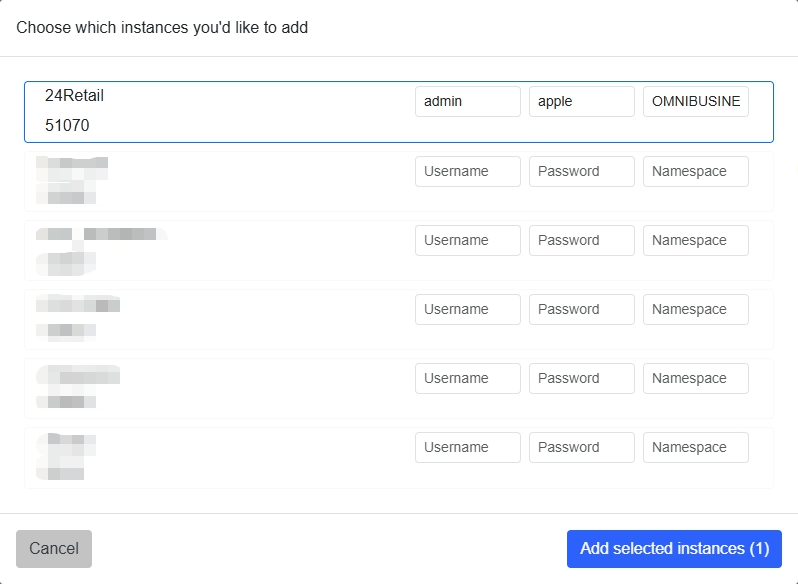
Click on ‘Add selected instances’.
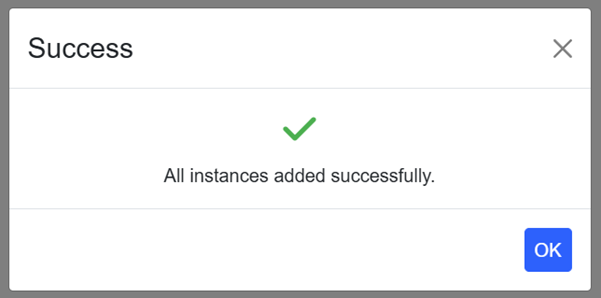
If it is successful, you will see a success message.
If it fails, you will see an error message.
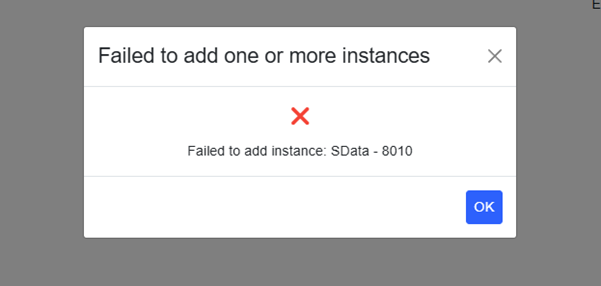
This means that your login credentials were probably wrong. Try again with the correct credentials.
Creating a cloud instance
To create a cloud instance, click on the 'Cloud' button to bring up the 'Connect to Cloud Instance' modal.
To add a cloud instance, you need to key in the address of your cloud instance and your instance username and password.
For address, key in the IBM PA Cloud URL, including the IBM PA instance name in the following format:
customer.planning-analytics.ibmcloud.com/tm1/api/servername
Note that the IBM PA instance name is case sensitive.
e.g. if your customer name is DHL, and your instance name is fpAmodel, then your address will be DHL.planning-analytics.ibmcloud.com/tm1/api/fpAmodel
For your Username and Password, use the IBM PA Cloud Non-interactive service account provided in your Cloud Welcome Kit (e.g. company_tm1_automation)
This is needed because the PA REST API is only usable via the Non-interactive service account. Ensure that the Service Account has sufficient permissions (e.g. Admin) to see all the cubes, rules and processes.

Click on the ‘Add’ button.
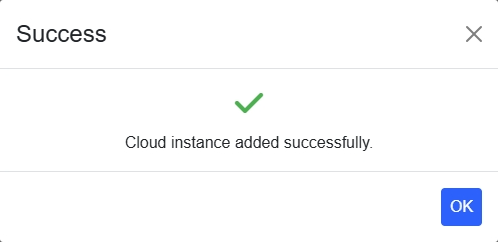
If it is successful, you will see a success message.
Your license grants you a set number of instances you’re allowed to add. Attempting to add more will result in an error.
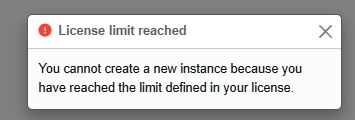
If you need to add more instances, contact us for a new license.