4️⃣ Navigating Omni
Model Page
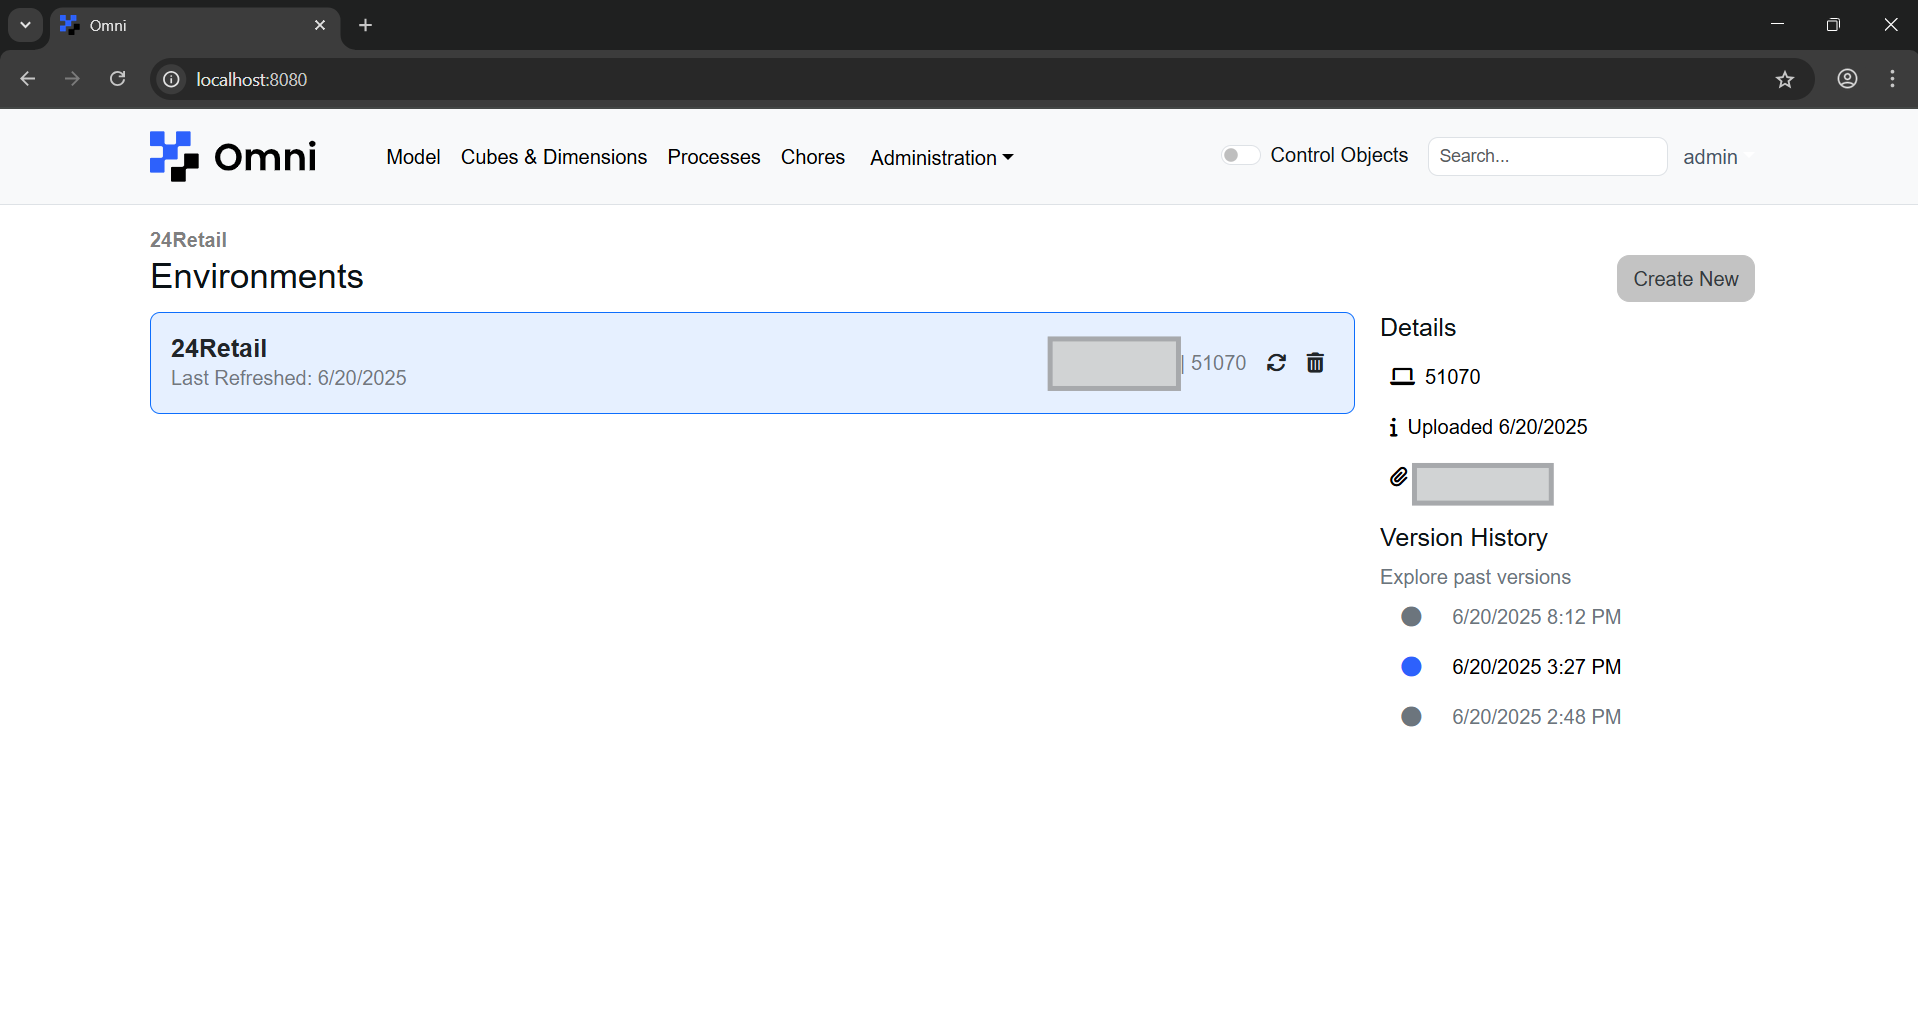
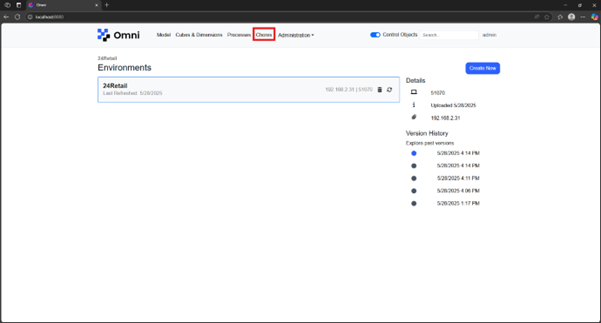
First, select the environment that you would like to access. This will be indicated by a blue highlight and blue border around the selected environment, as well as the environment name.
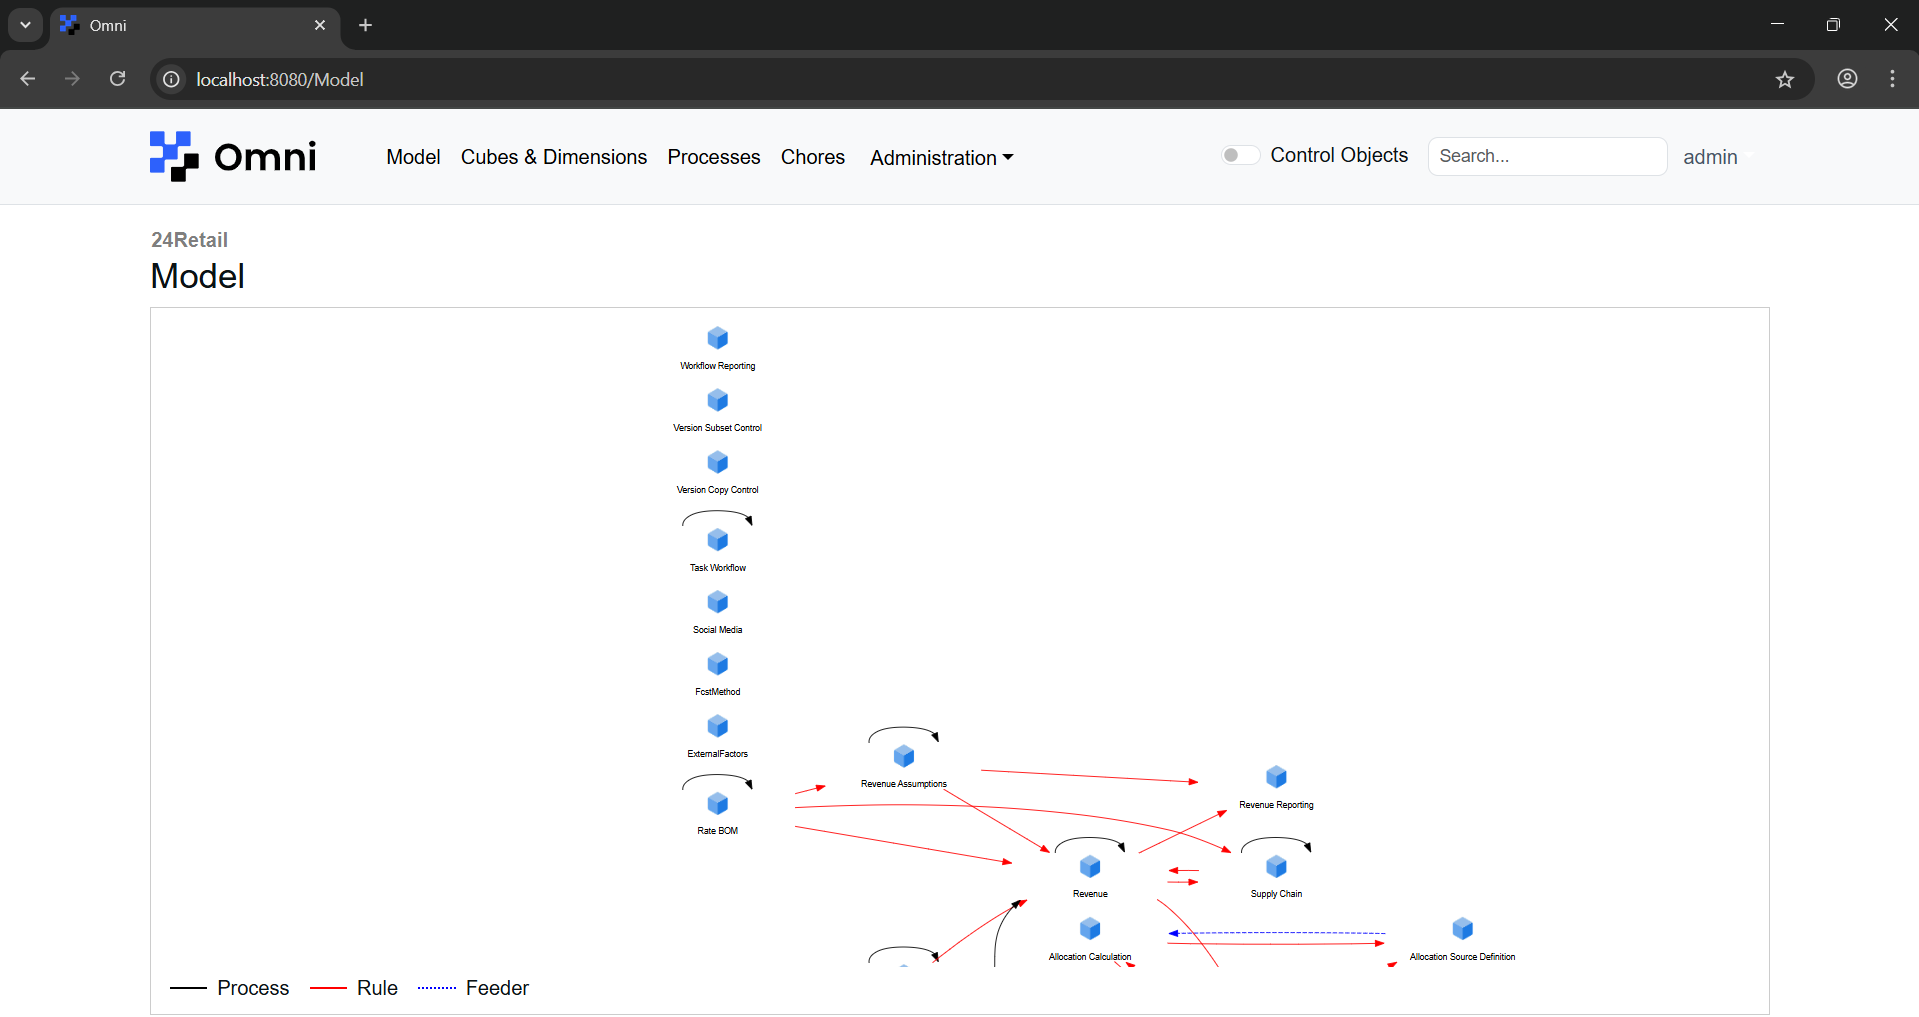
Next, click on ‘Model’, which will then bring you to the ‘Model’ page. Each cube is a TM1 cube. Black arrows indicate the data flow in a process. Red arrows indicate the data flow in cube rules. Blue dotted arrows indicate the data flow in cube feeders. You can navigate the ‘Model’ view by clicking and dragging within the page. Scrolling within the page will allow you to zoom in or out.
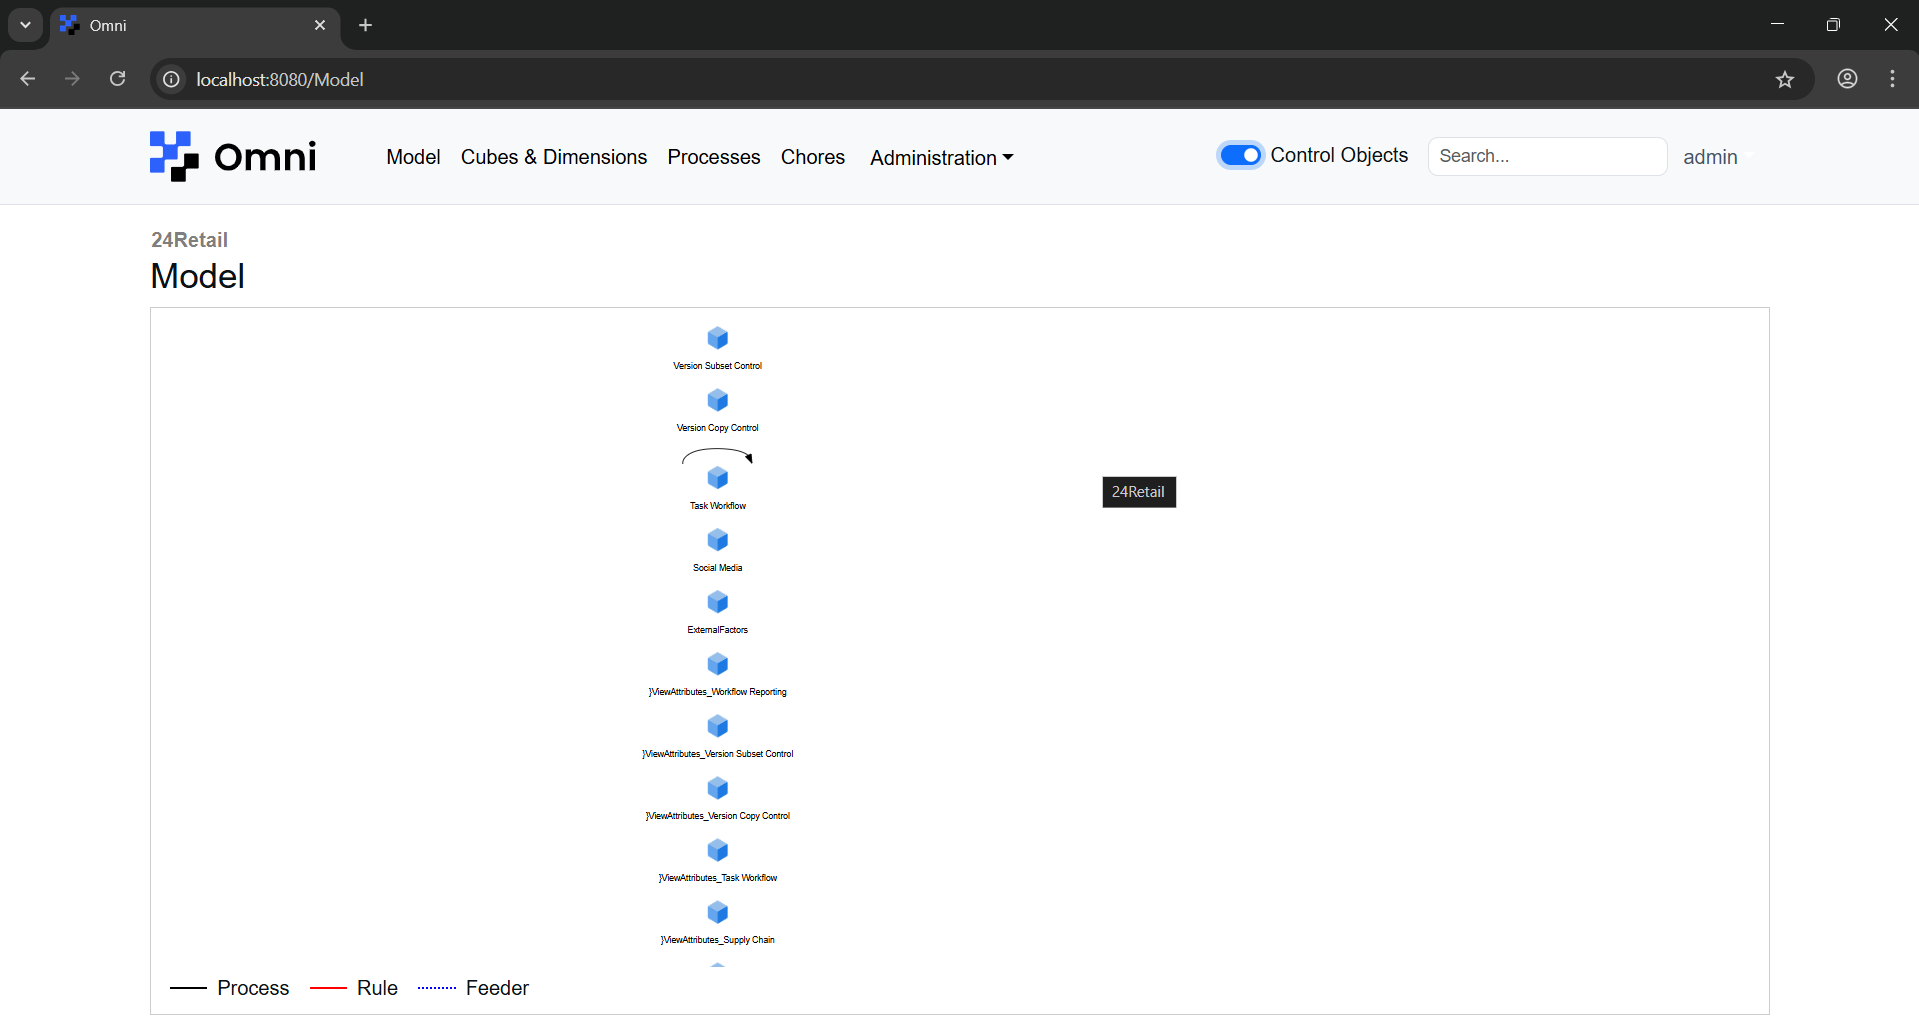
Clicking on the ‘Control Objects’ Toggle will toggle the visibility of control objects. Control objects are indicated by a ‘}’ in front of the cube name.
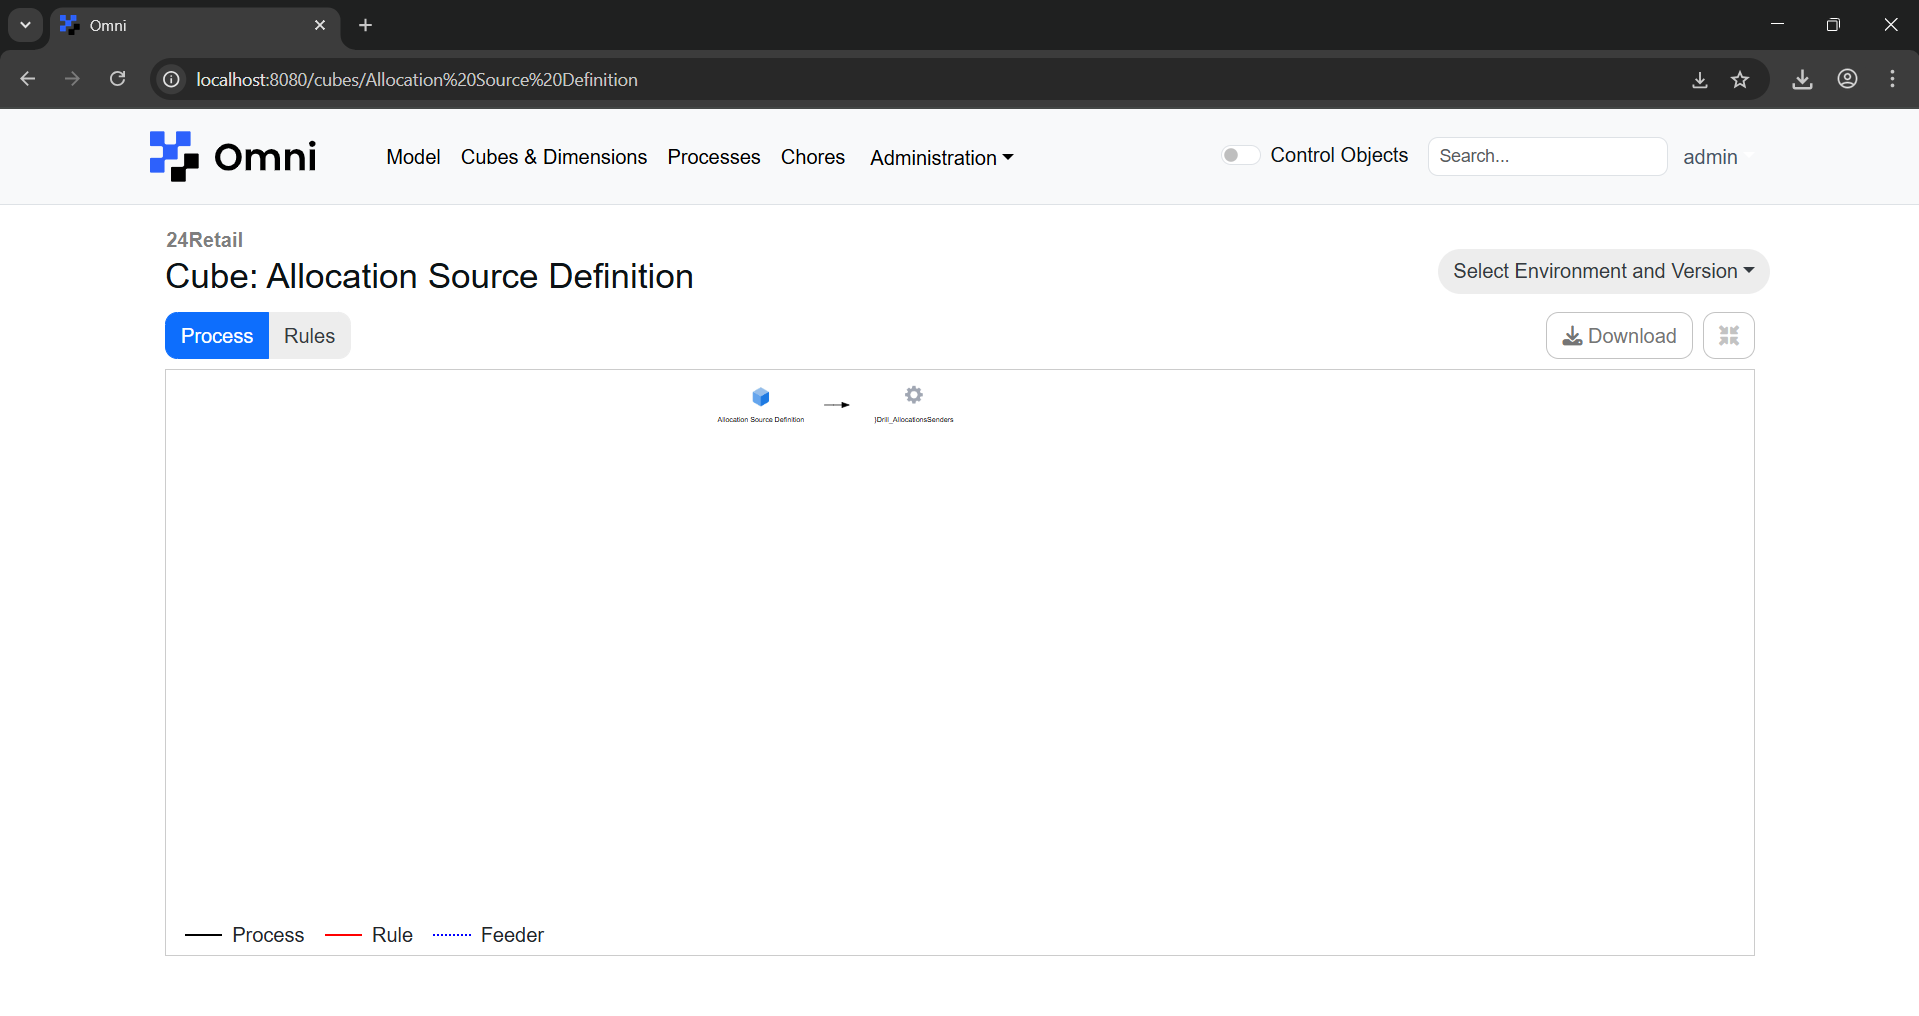
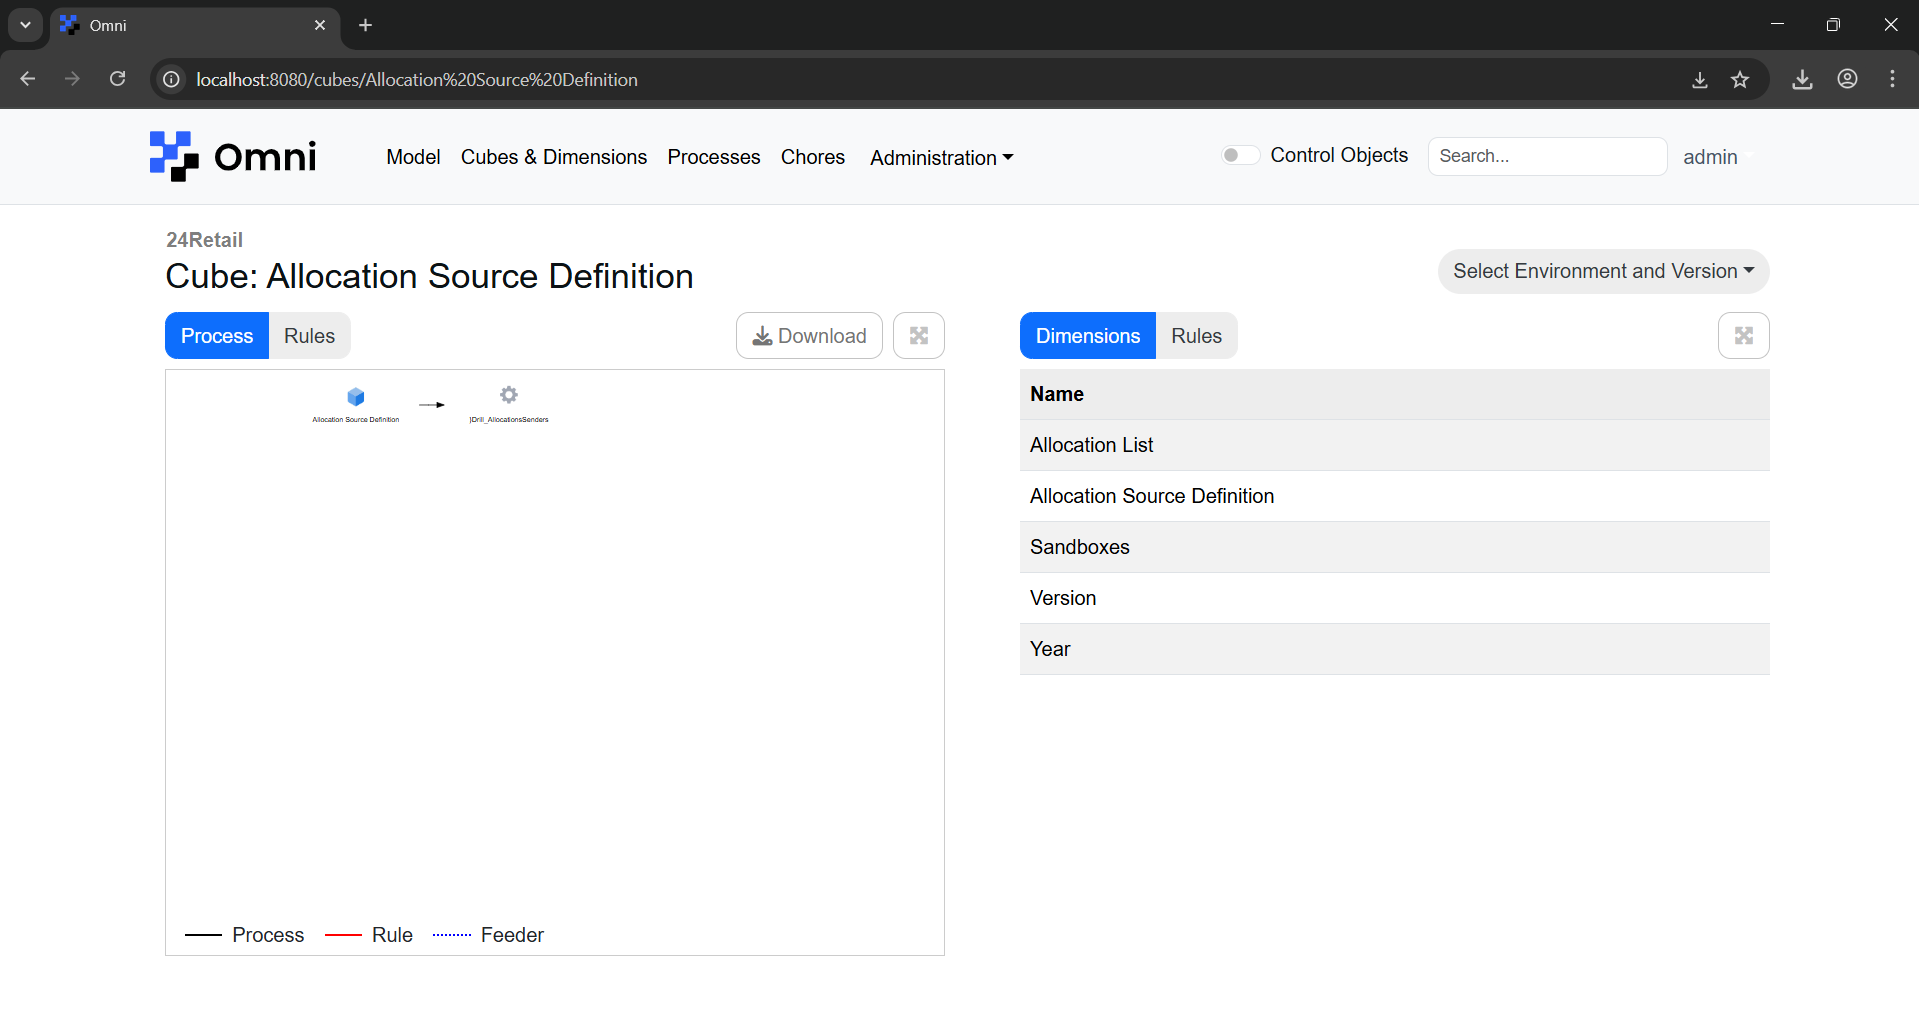
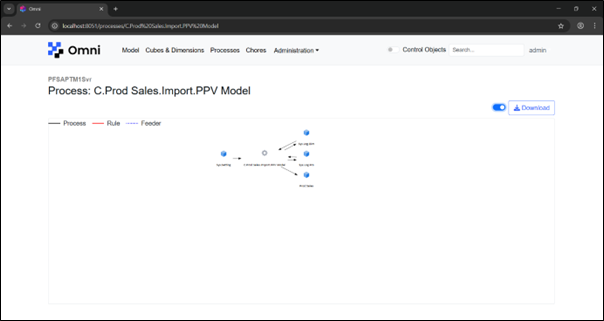
When you click on a cube, you will be brought to a page that will provide more details about the cube. You can click on ‘Process’ to display the model view showing the processes that involves this cube. Processes are indicated by a gear icon as shown below.

Clicking on the expand button beside the ‘Download’ button will toggle the model view to be enlarged or minimised.
You can click on ‘Rules’ to display the model view showing the rules that involves this cube. Rules are indicated by the red arrows.
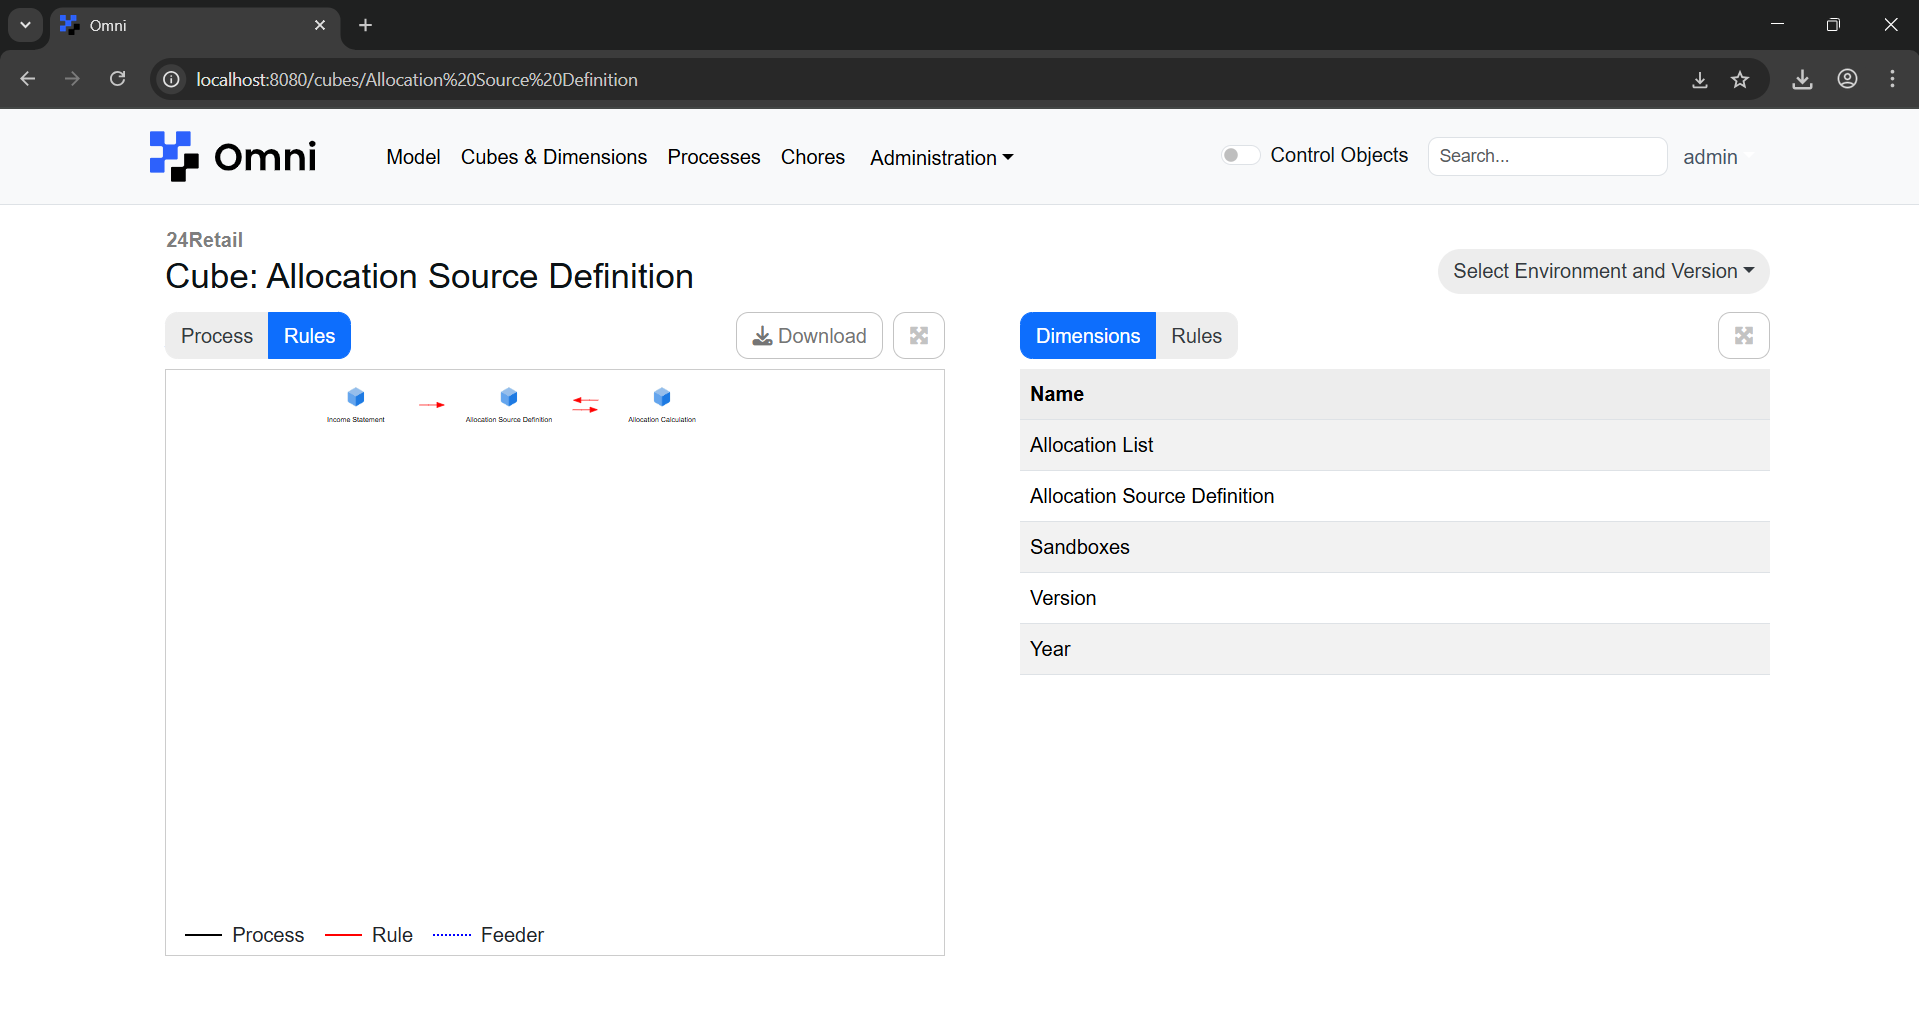
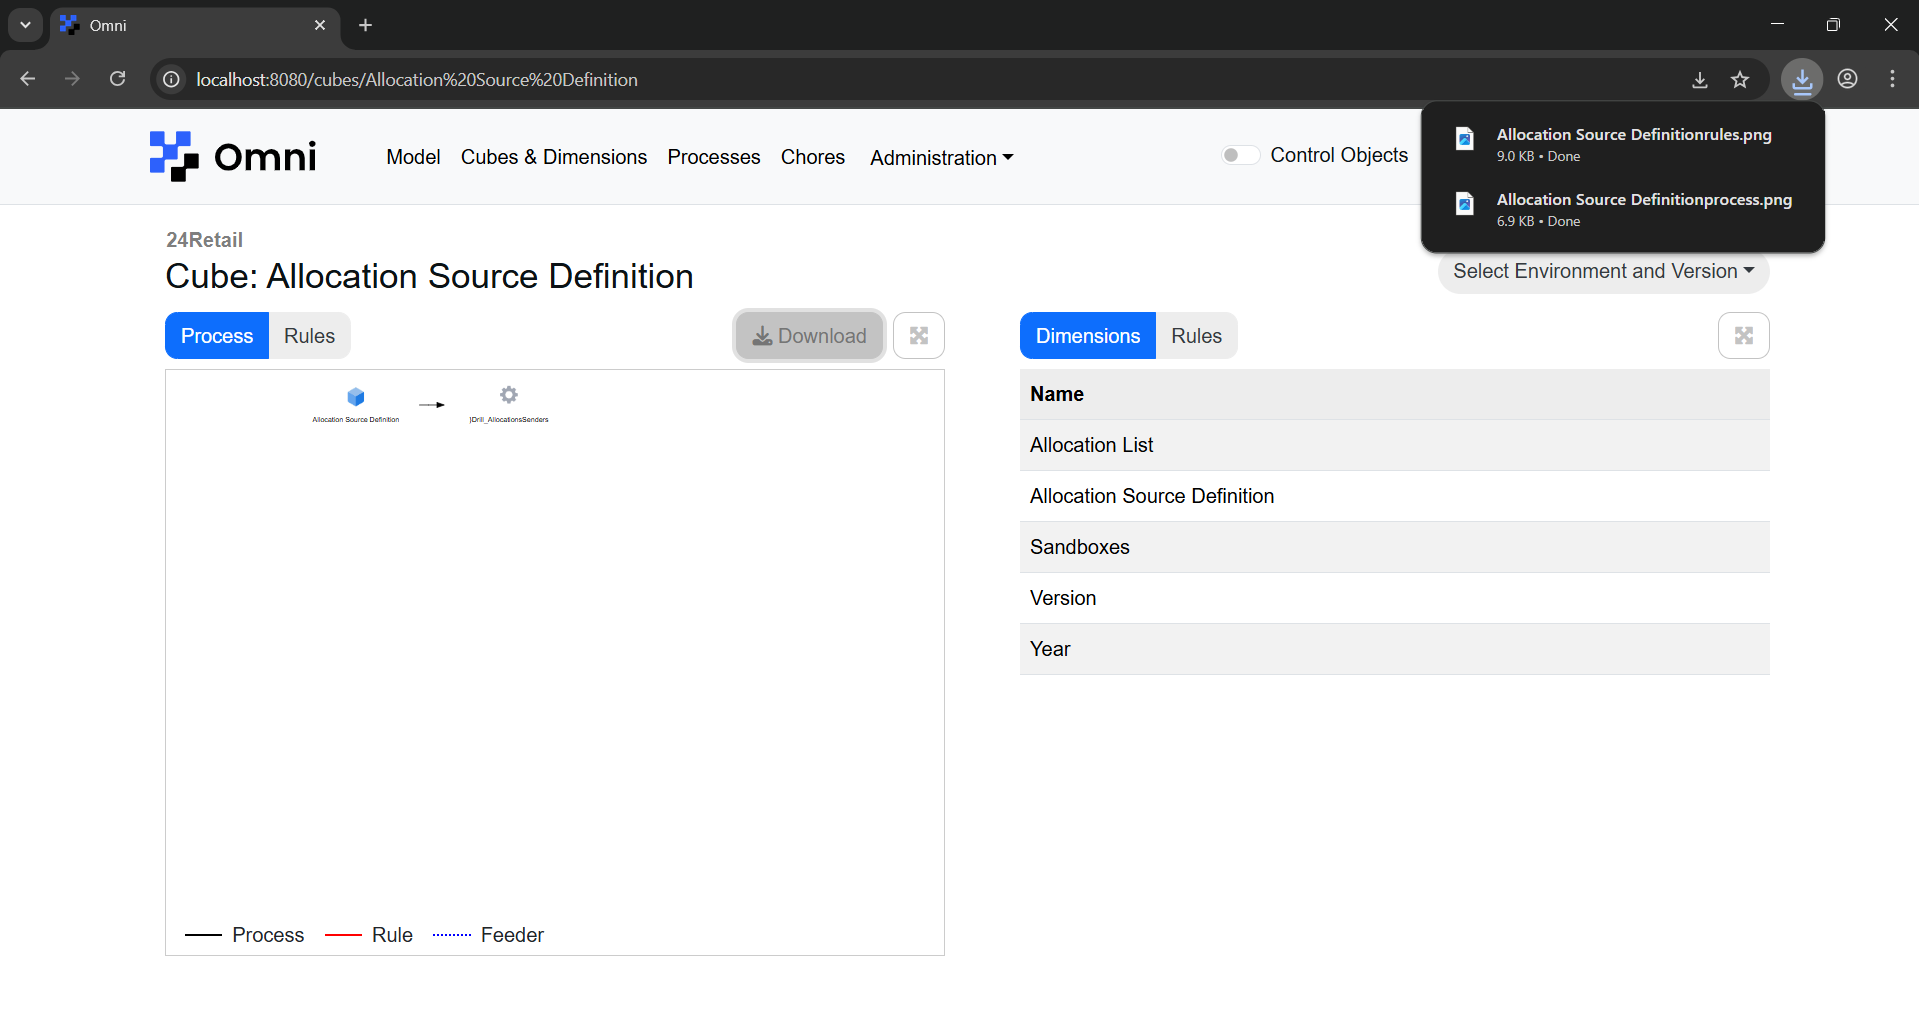
Clicking on ‘Download’ will download .png files of both the ‘Process’ and ‘Rules’ model views for that cube.
Clicking on ‘Dimensions’ will show a list of the dimensions for the cube.
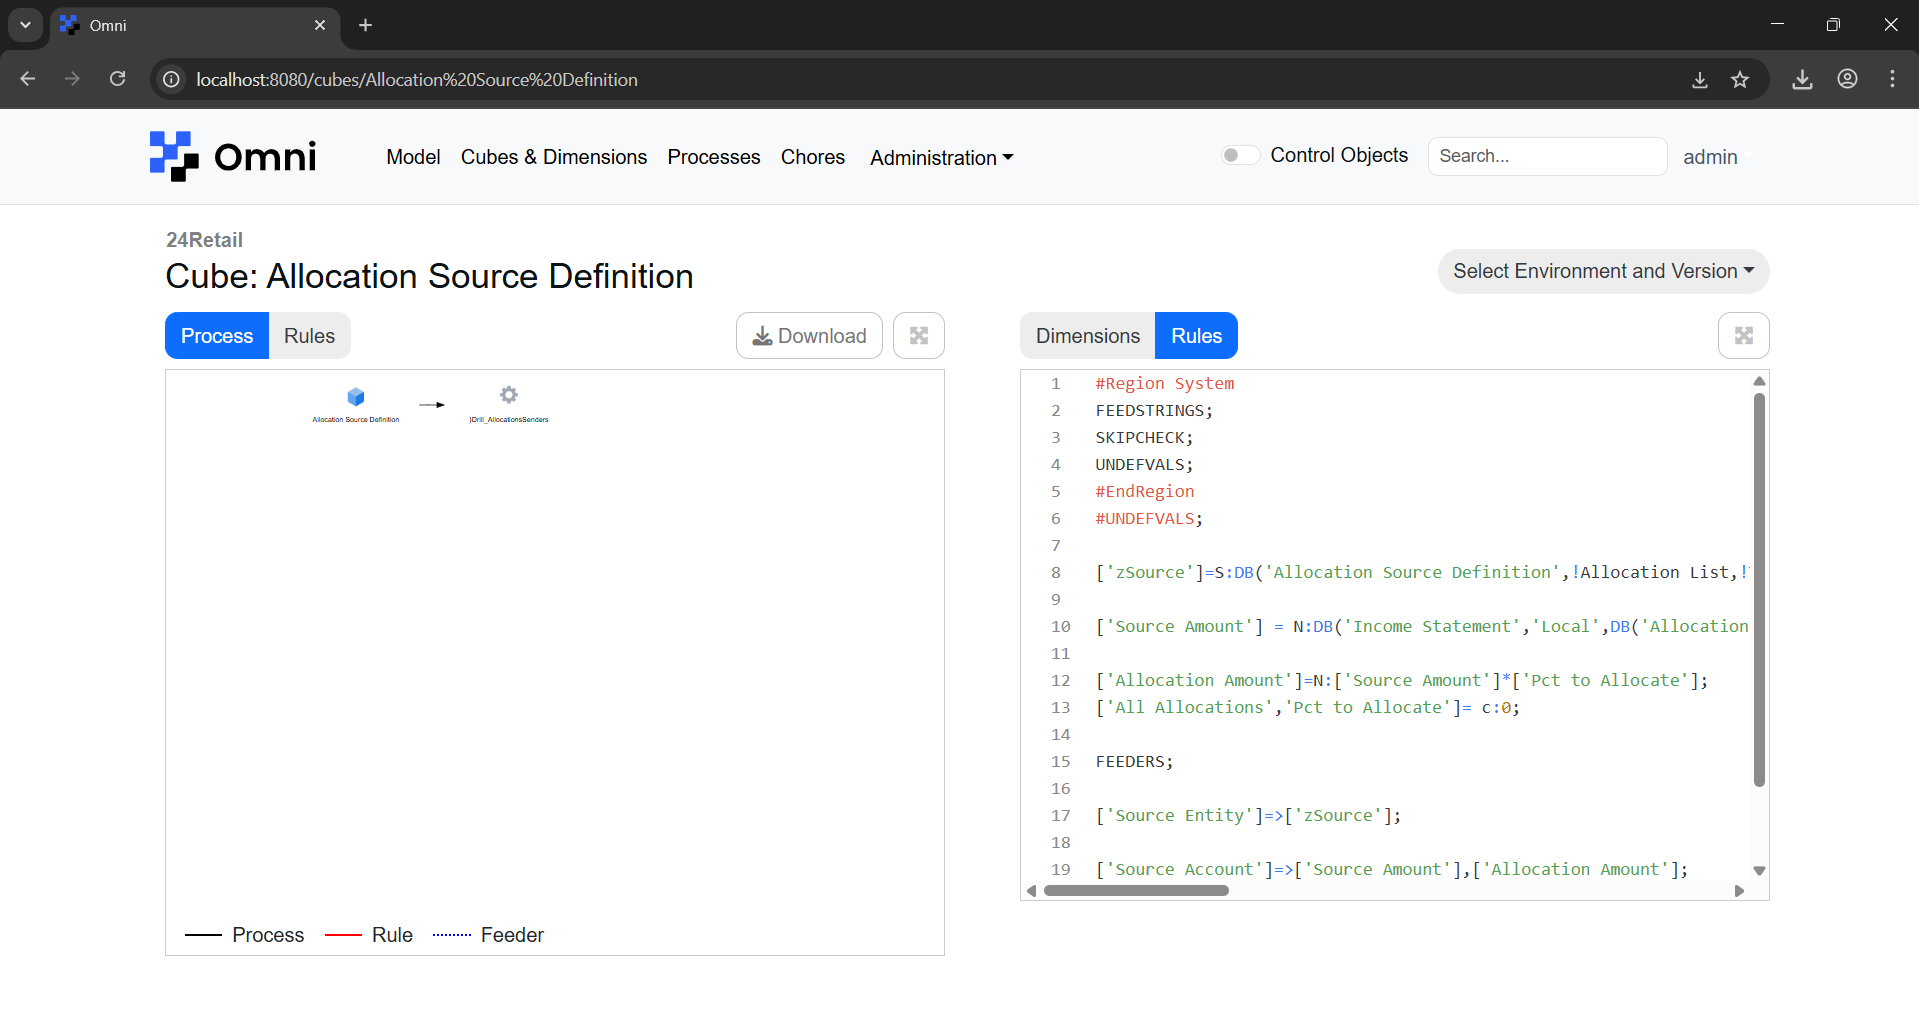
Clicking on ‘Rules’ will show the rules script of the cube.
Cubes & Dimensions
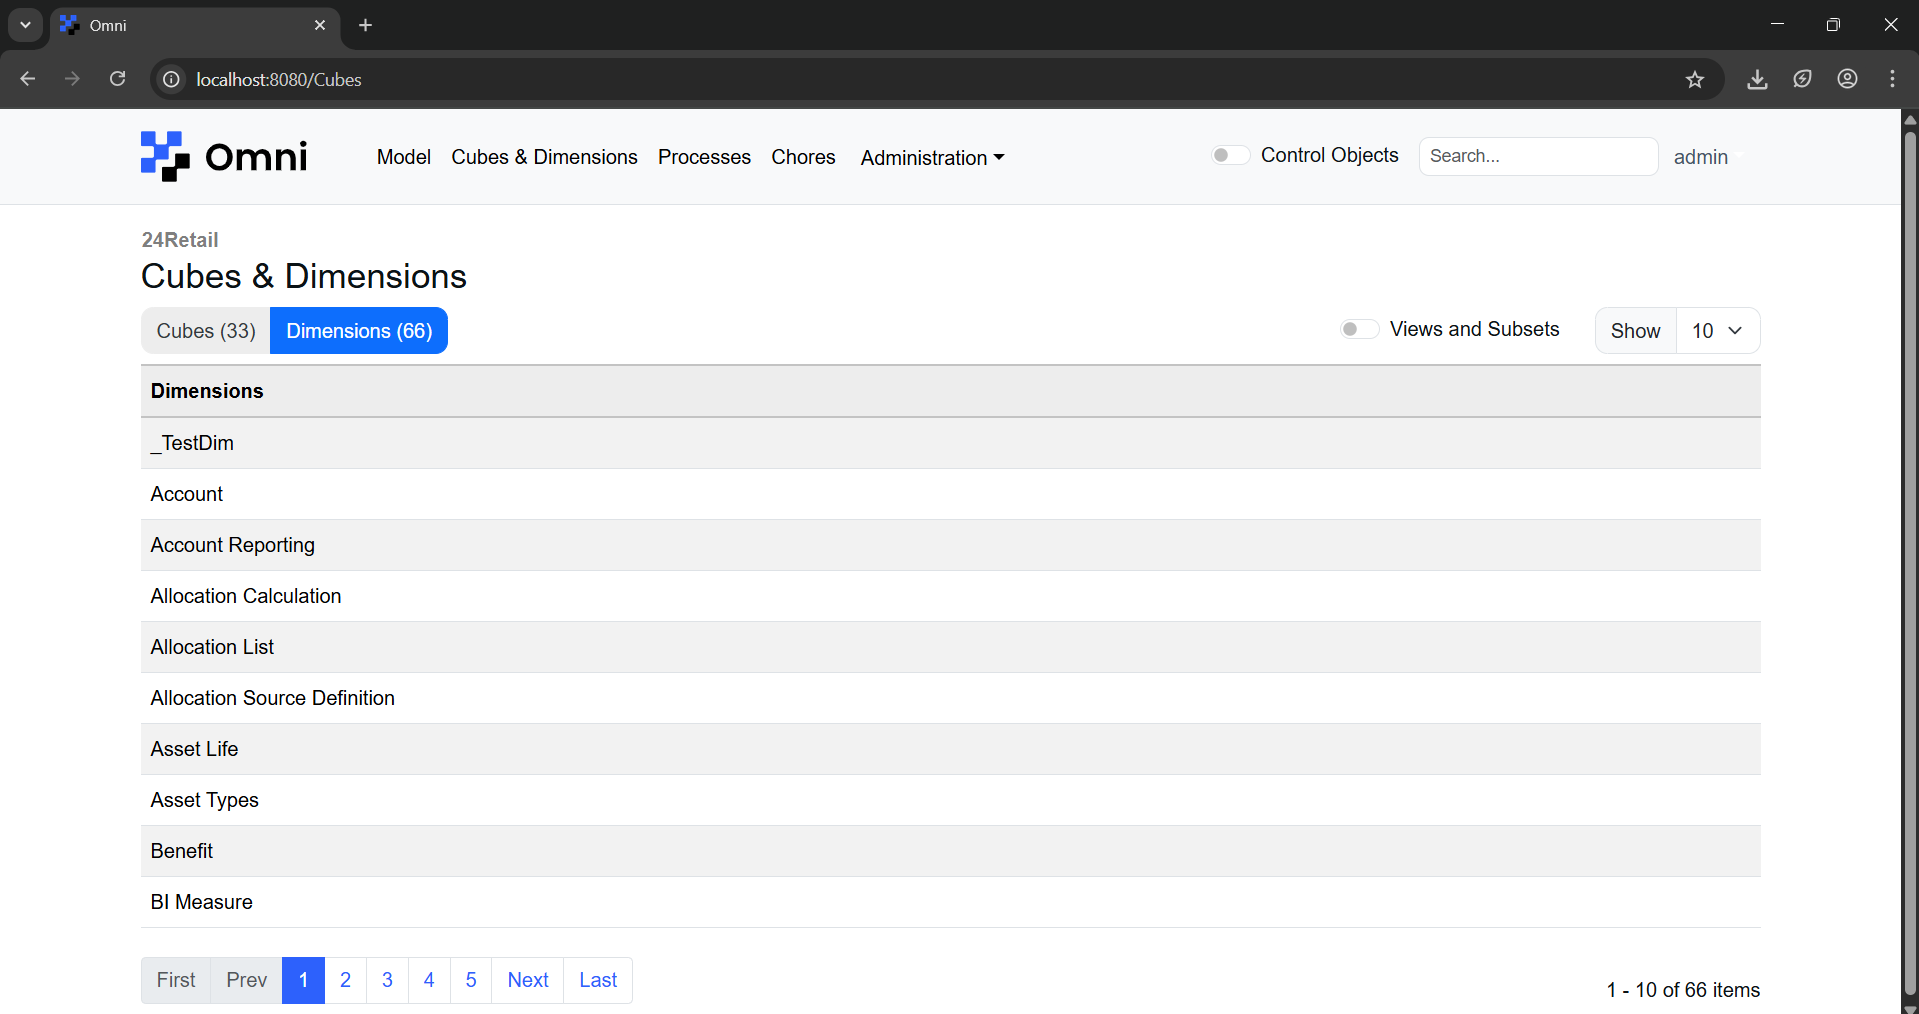
Next, clicking on ‘Cubes & Dimensions’ will bring you to the ‘Cubes & Dimensions’ Page. Clicking on ‘Cubes’ will show the list of Cubes that are part of this environment. Along with the dimensions that each cube has.

Clicking on a row in the table will bring you to the page containing more details about the cube, as talked about earlier in ‘Model’.

Clicking on ‘Dimensions’ will show the list of all the dimensions that are part of this environment.
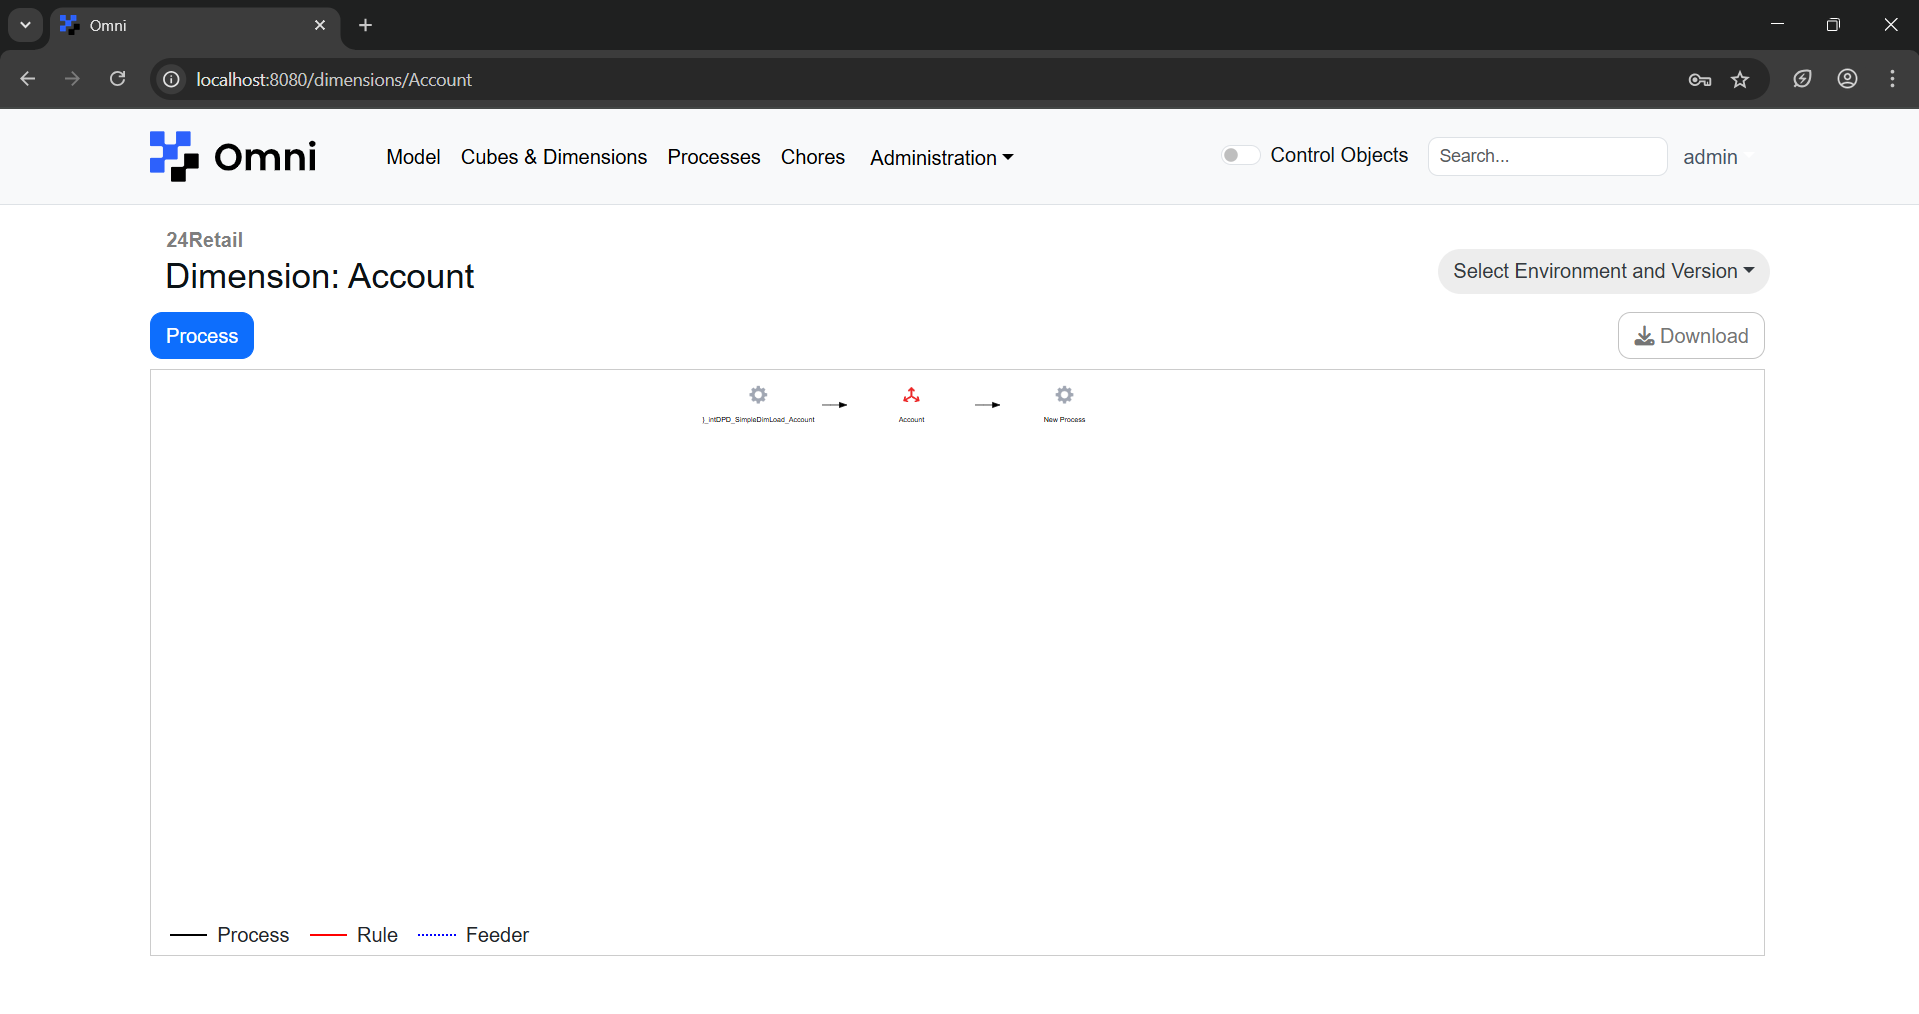
Clicking on the dimension name will bring you to the model view which shows the process that is adding or removing an element from the dimension. Dimensions is represented by the 3-arrow axis as shown below. Clicking on ‘Download’ will download a .png file of the model view.
Processes
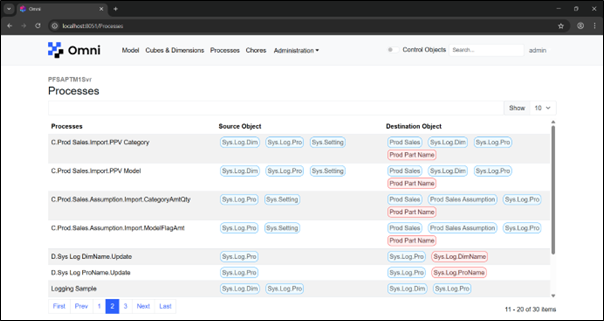
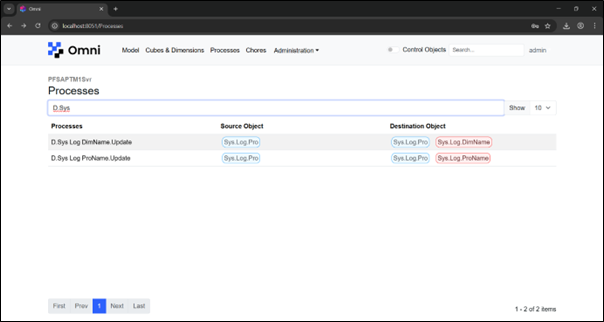
Clicking on ‘Processes’ will bring you to the ‘Processes’ page where a list of all processes in this environment is displayed. Blue labels refer to cube names, while red labels refer to dimension names.
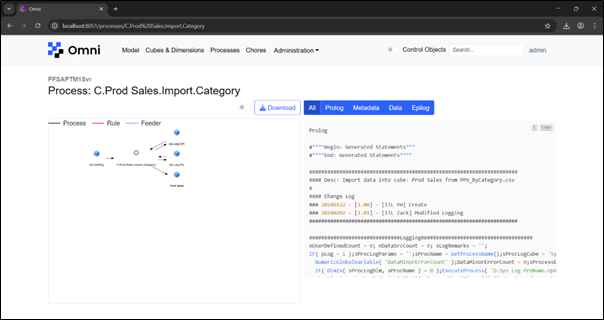
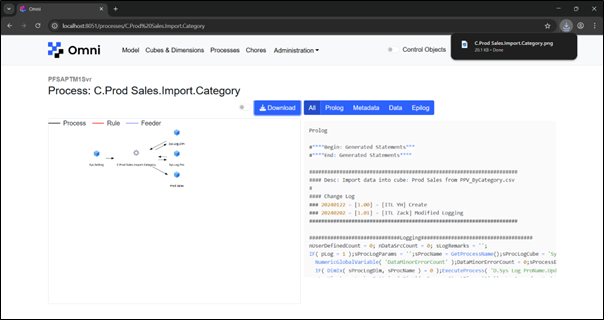
Clicking on a row will bring you to the ‘Process’ page containing more details regarding that process. You can also see the TM1 script of that process and also see the breakdown of the script into the four components: ‘Prolog’, ‘Metadata’, ‘Data’ and ‘Epilog’.
Clicking on the toggle beside the ‘Download’ button will toggle the model view to be enlarged or minimised.
Clicking on ‘Download’ will download a .png file of the model view.
You can also use the search bar to search for specific processes, as shown below.
Chores
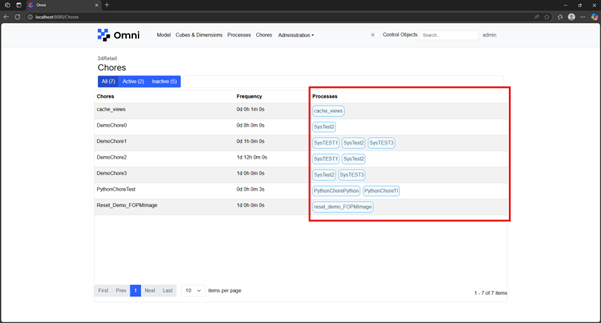
Clicking on ‘Chores’ will bring you to the ‘Chores’ page where a list of all chores in this environment is displayed.
The list of processes being run by each chore is also shown on this page.
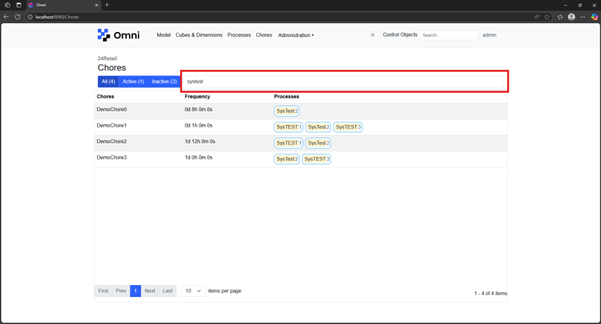
On the Chores page, you can use the search bar to find specific chores. The results will include chores whose names contain the search text, as well as chores that run processes whose names match the search text.
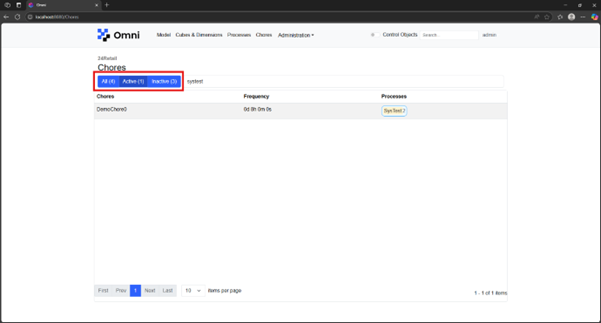
Search results persist across the different tabs, so the search results can be filtered based on whether a chore is active by clicking on the different tabs.
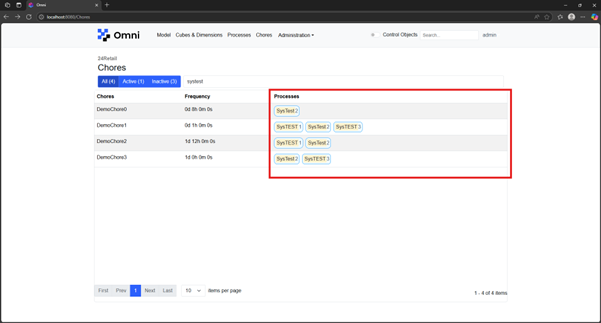
By clicking on each of the processes run by the different chores, you can navigate to another page showing detailed information about each process.
The frequency at which each chore is run can also be viewed within the frequency column.

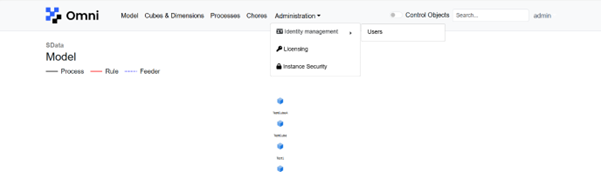
Admin Page
Creating new users
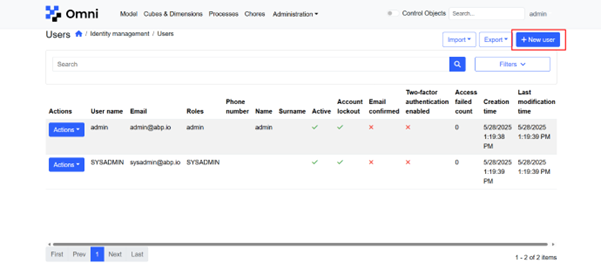
On the admin account, navigate to the Users tab.
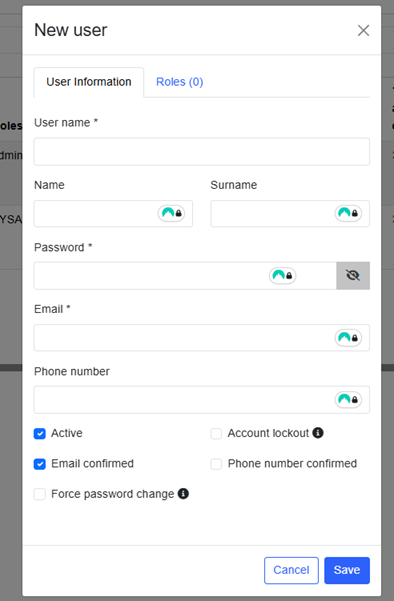
Click on ‘+ New User’
Fill in the New User form. Check the same boxes as the image below.
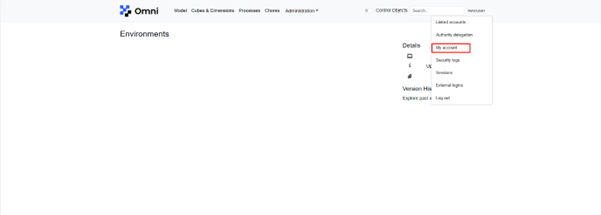
Changing password
Click on your username, then click on ‘My Account’.
Click on ‘Change password’
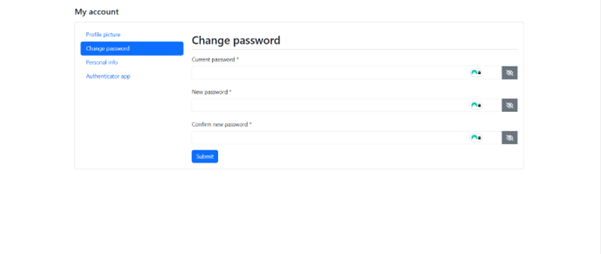
Fill in the fields and press submit.
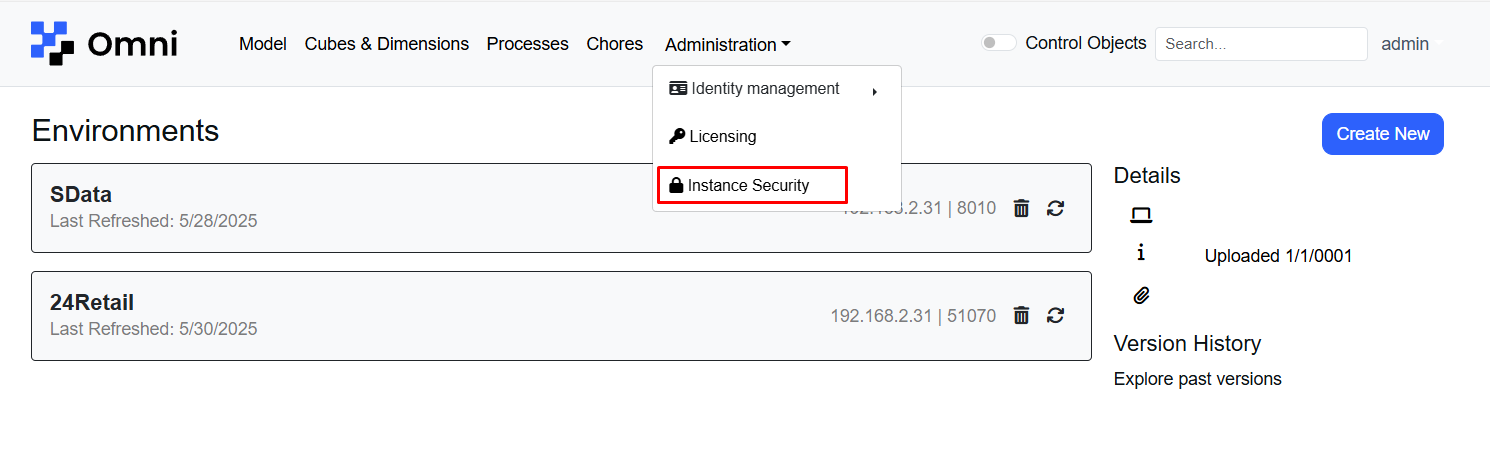
Instance Security
Click here
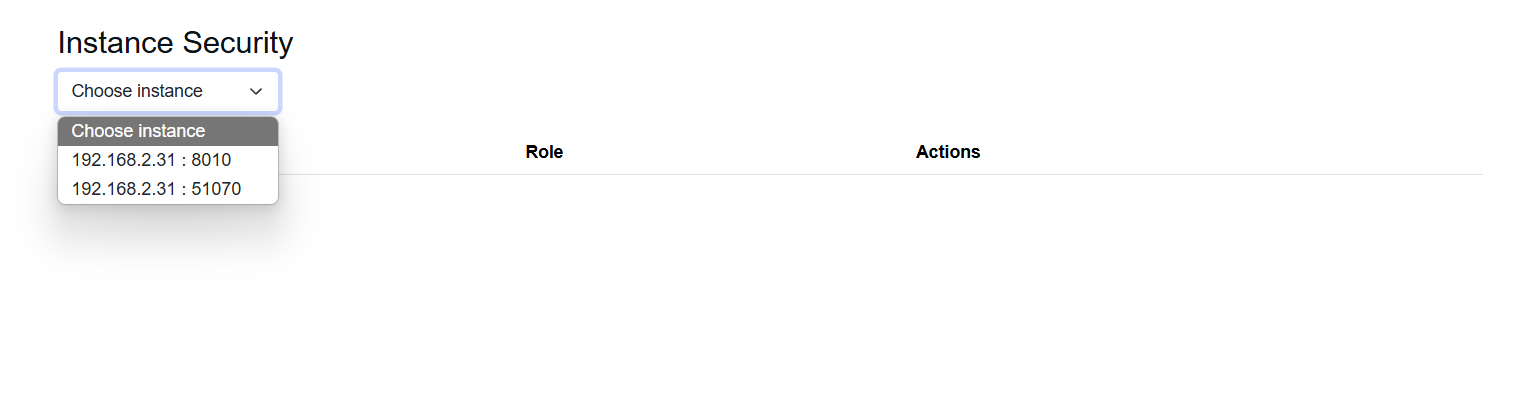
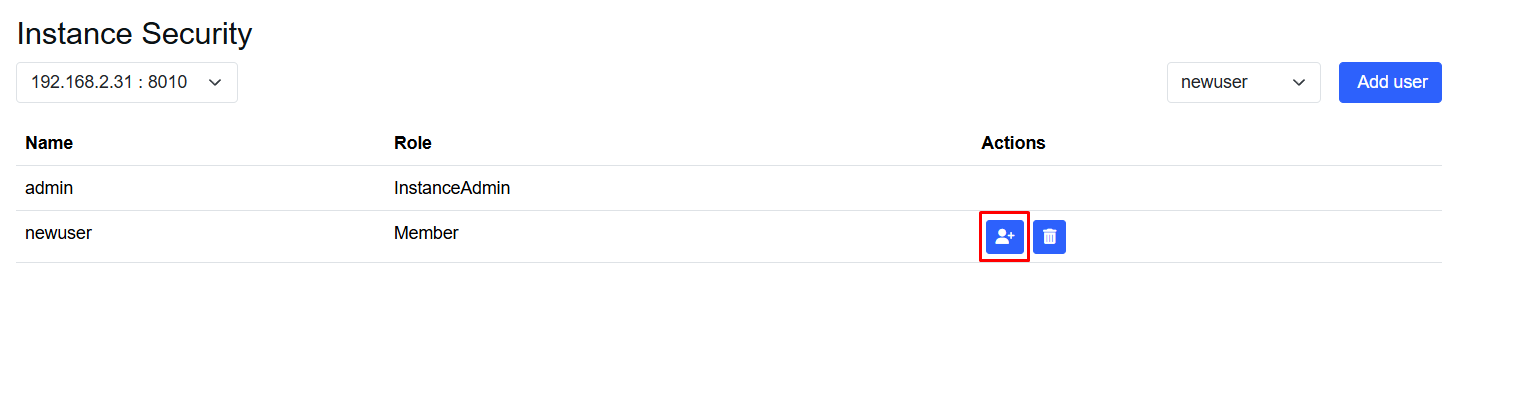
Select the instance you want to configure security for
Select the user you wish to add as a viewer of the instance
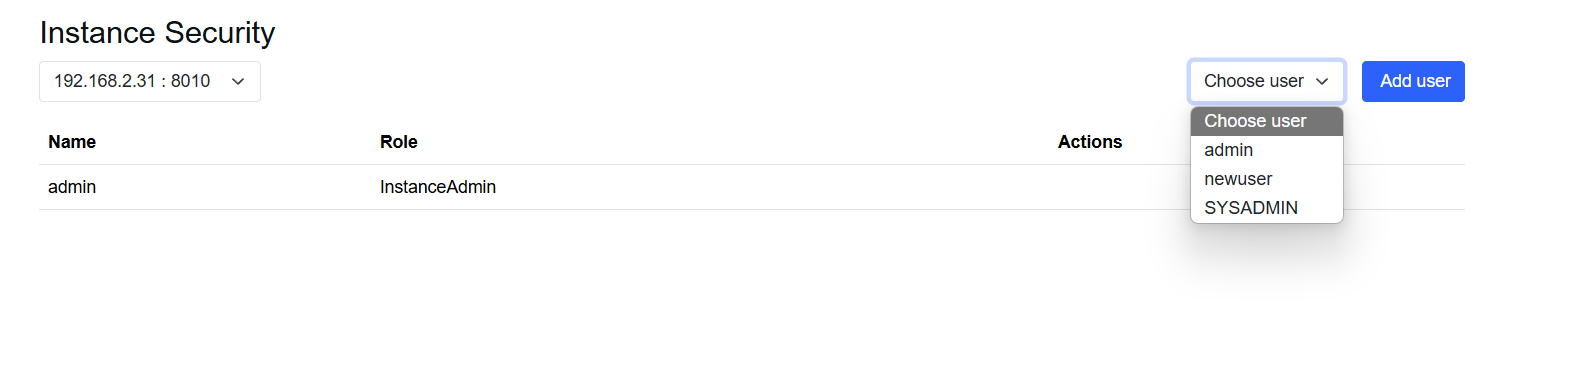
Click here to promote or demote a user from/to Instance Admin
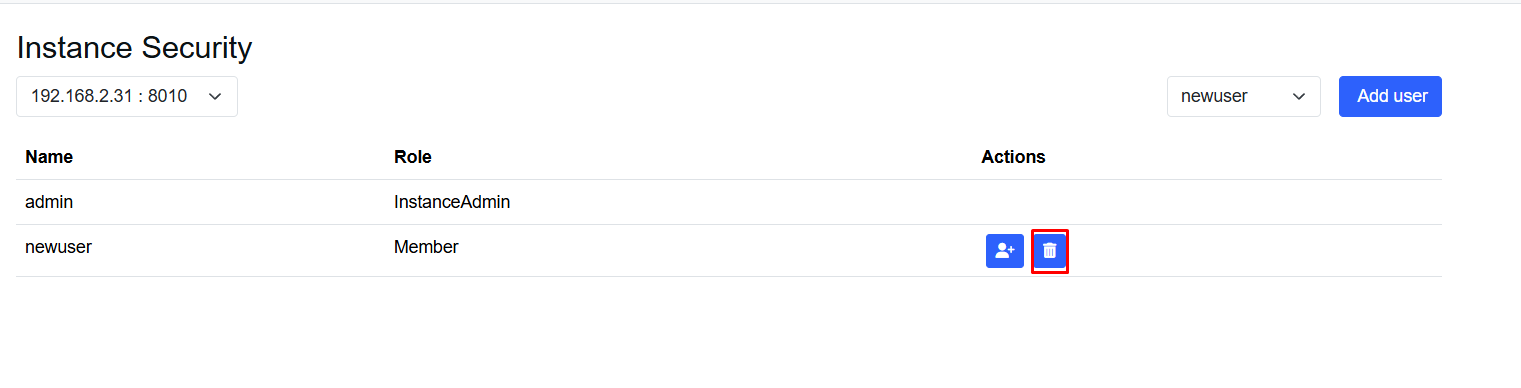
Click here to remove a user from the instance
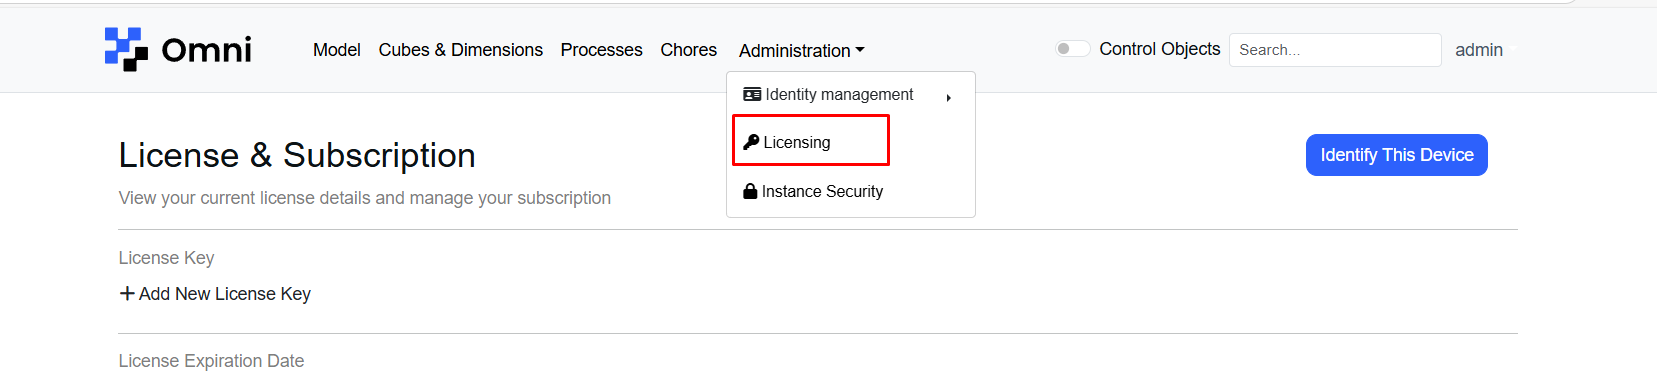
Licenses
Navigate to the Licenses page
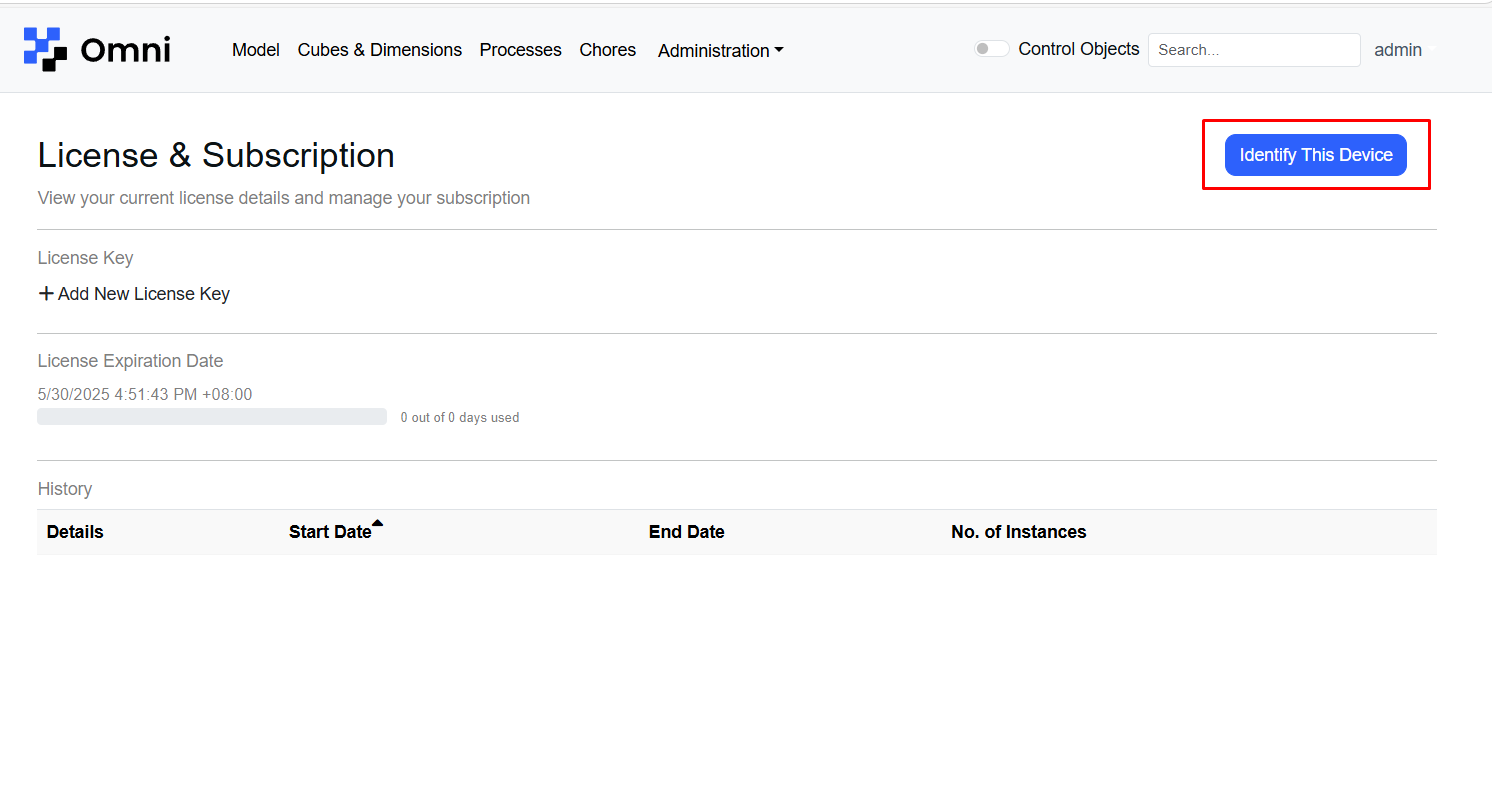
Click here to get your unique key. Give this to our Omni team in order to receive your license.
Upon receiving your license, click here to upload it

Select the license file. You will see your license details.
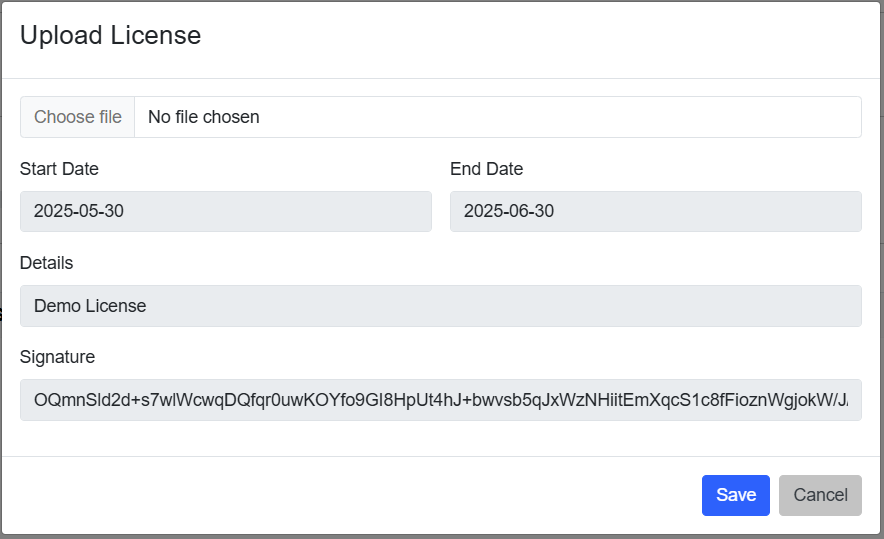
Press save.